Videos and Projects Image Map

Monday, May 25, 2020

I am no longer a Stampin' Up! demonstrator.  I could not keep up with the minimums just doing this as a hobby.  That said, the buttons on my website will no longer take you to anything related to Stampin' Up! or Paper Pumpkin. 

I still have my Facebook page and Etsy shop that I will be posting to.

Have a great day!


Sunday, January 27, 2019

It's been a while since i've been on here.  One of my New Year resolutions was to post more often, oops.  It's still January!!  Well, better late than never I suppose.

It's been busy, not going to lie.  A good busy.  More and more people are asking me to make my cards for them.  I'm always excited that people actually like the cards I make!  For instance, here is a card that I made as a gift which ended up becoming an order for more.


I think I ended up making around 50 of these for her.  I was so honored that she asked!

Over the holidays, I found a new obsession.  Ornaments.  I made everyone at the office an ornament for our Christmas tree.  They were well received and made great gifts.  Here are a few examples.  After I colored them, I embossed their names and embellished them a bit.


Unfortunately, I forgot to take a picture of the finished product 😜

Another friend of mine asked for a specific gift card holder for a friend of hers who likes Coach purses.  So, of course, I had to make her one!


It also gave me the chance to use my Cricut again.  I forgot how much fun this machine could be.

I often get a few "unusual" requests and I try my best to accommodate-here is an example:


Yes, you're not seeing things.  That is a Scooby Do bong.  I still can't believe I found one!

I was also asked by a coworker to make one of his clients (a woman who has everything) a wedding card.  It's a bit busy, but I thought elegant. 


Now, this one has a funny little story to it.  My boss's daughter had a baby who he announced as "James Vincent".  So I thought I'd make a card for them and have everyone at work sign it as a surprise.  Well, when I went to hand it to him, a coworker told me that they were going to call him "Vinny" and that his first name was actually Vincent!  Long story short, I threw my boss under the bus to his family and blamed him for the oops.  It's now a big joke 😃  Now "Vincent" has an original card inspired by his Grandpa!😁


I have several others that i've made which I'll save for another time.  I hope you like these.  Please feel free to leave a comment if you do😀

 Have a wonderful day and HAPPY CRAFTING!

Sunday, October 21, 2018


Good afternoon everyone!

I'm finally back in my happy place and creating again.  Shoulder surgery took me away for awhile and I just lost my mojo.  


Here is my first card using all Stampin' Up! products in a long time.  I absolutely love the sentiment and should say this every morning.   It is from the stamp set, "A Good Day", and printed on So Saffron paper.  It is adhered onto Grapefruit Grove Nature's Twine.  By the way, if any of you are interested, all of the products used are currently available from the catalogue. 

The flower is made using Garden Impressions Designer Series Paper and the Daisy Punch.  The leaves are Old Olive and Garden Green, and I used the Flourish thinlits dies.  

The background is Night of Navy and the Basket Weave Dynamic Textured Impressions Embossing Folder, using the negative side.  

The card base itself is So Saffron cardstock and is a standard A2 size (4.25 x 5.5).

I hope you like it! 

Saturday, February 24, 2018


Happy Saturday, everybody :-)

I can't believe how long it has been since I wrote a blog.  A few great things have happened to me since my last one.

First, I landed a great full time job-FINALLY!  Now I can afford my hobby again.  It's actually with a company I used to do business with years ago at my old job.  The office is even down the street from my old job-about 2 blocks apart!!  Weird-I did a complete circle.  Anyway, I'm really enjoying being back to work, even though it takes away from my crafting time.  LOL

Second, I was just about to say goodbye to Stampin' Up! when I received a wonderful email that someone joined me.  She's also a hobbiest, but that's okay.  If she stays with me, that would be wonderful, if not, it was really nice to be able to say I had a team member for a little while:-)

So this is what i've worked on that strictly uses Stampin' Up! products.  I have all this wonderful stuff that I think I get overwhelmed with ideas and just can't get them produced.  But this time I did.  Here are two I made today.


I made this one for a woman who ordered from me recently.  This is only my second order that hasn't been from a friend :-)  I hope she likes it.


This one is for my new team member.  Lots of different techniques on this one.  

Well, that's really all I wanted to share today.  I hope you all have a wonderful day!


Thursday, March 23, 2017


Happy Thursday everyone!

I'm in the process of making this card for a relative for her anniversary.  It's supposed to be a joke to make her laugh before she gets her serious one.

She loves to garden, but hates worms.  So of course I had to make the card with a worm!  

First, the white piece of paper that I distressed in blue for a "sky" effect is cut at 4" x 5.25".  I used the Lawn Fawn, Slide On Over, straight die cut at about half way down the paper.  On the back side, place your slider piece of paper over the opening.  Then place double sided tape, thinly cut, around the top, bottom and side, making sure that it slides in and out easily.  Slide the piece of paper out to see where you will stamp your sentiment.  Peel the backing from the tape and attach to either a card base or another color card stock measuring 4.25" x 5.5".

The flowers are from a free digital print off of Pinterest.  Gotta love Pinterest :-) 

I colored the flowers with my spectrum noir markers, then cut them out.  These are then attached to the bottom red piece of paper.  This piece will eventually hide the slider opening.  

I cut the cute worm with my Cricut.  I attached a very small folded strip of cardstock to the worm to attach it to an extremely small piece of double sided tape the height of the opening on the slider piece of paper.  Then tested it to make sure it actually slides.  Once the worm is in place, I put another thin strip of double sided tape along the bottom and side of the opening, then placed the red piece of paper with the flowers over that.  This hides the worm and the opening.  I also placed another thin piece of double sided tape along the bottom of the white paper to attach the red paper to.  Makes it even.

That's really all.  I'm sure I will make another one of these soon and will definitely try to remember to at least take pictures of each step.  I had no idea this one would be so well liked.  Thank you so much!

If you have any questions about this little card, please feel free to leave it in the comments.

Again, thanks for all the wonderful compliments on this little card.  It really made my day!

Here is a quick video of the card in progress.  Let me know what you think :-)

Thanks again!

Wednesday, October 12, 2016

Paper Rose Tutorial


This is my very first video.  (Couldn't tell, could ya?) I know the camera angle isn't the best, but I tried :-)

I would appreciate only constructive criticism please, no haters allowed!

If and when I attempt this again, it will be for what i'm very comfortable with-making cards :-)

Until then, happy crafting :-)

Wednesday, August 31, 2016

Finally Able To Post Something!


Good morning fellow crafters!


It's been a while since I have put anything on my blog, but now that the kiddos are back in school, (happy dance), I will have a little more time to update it.


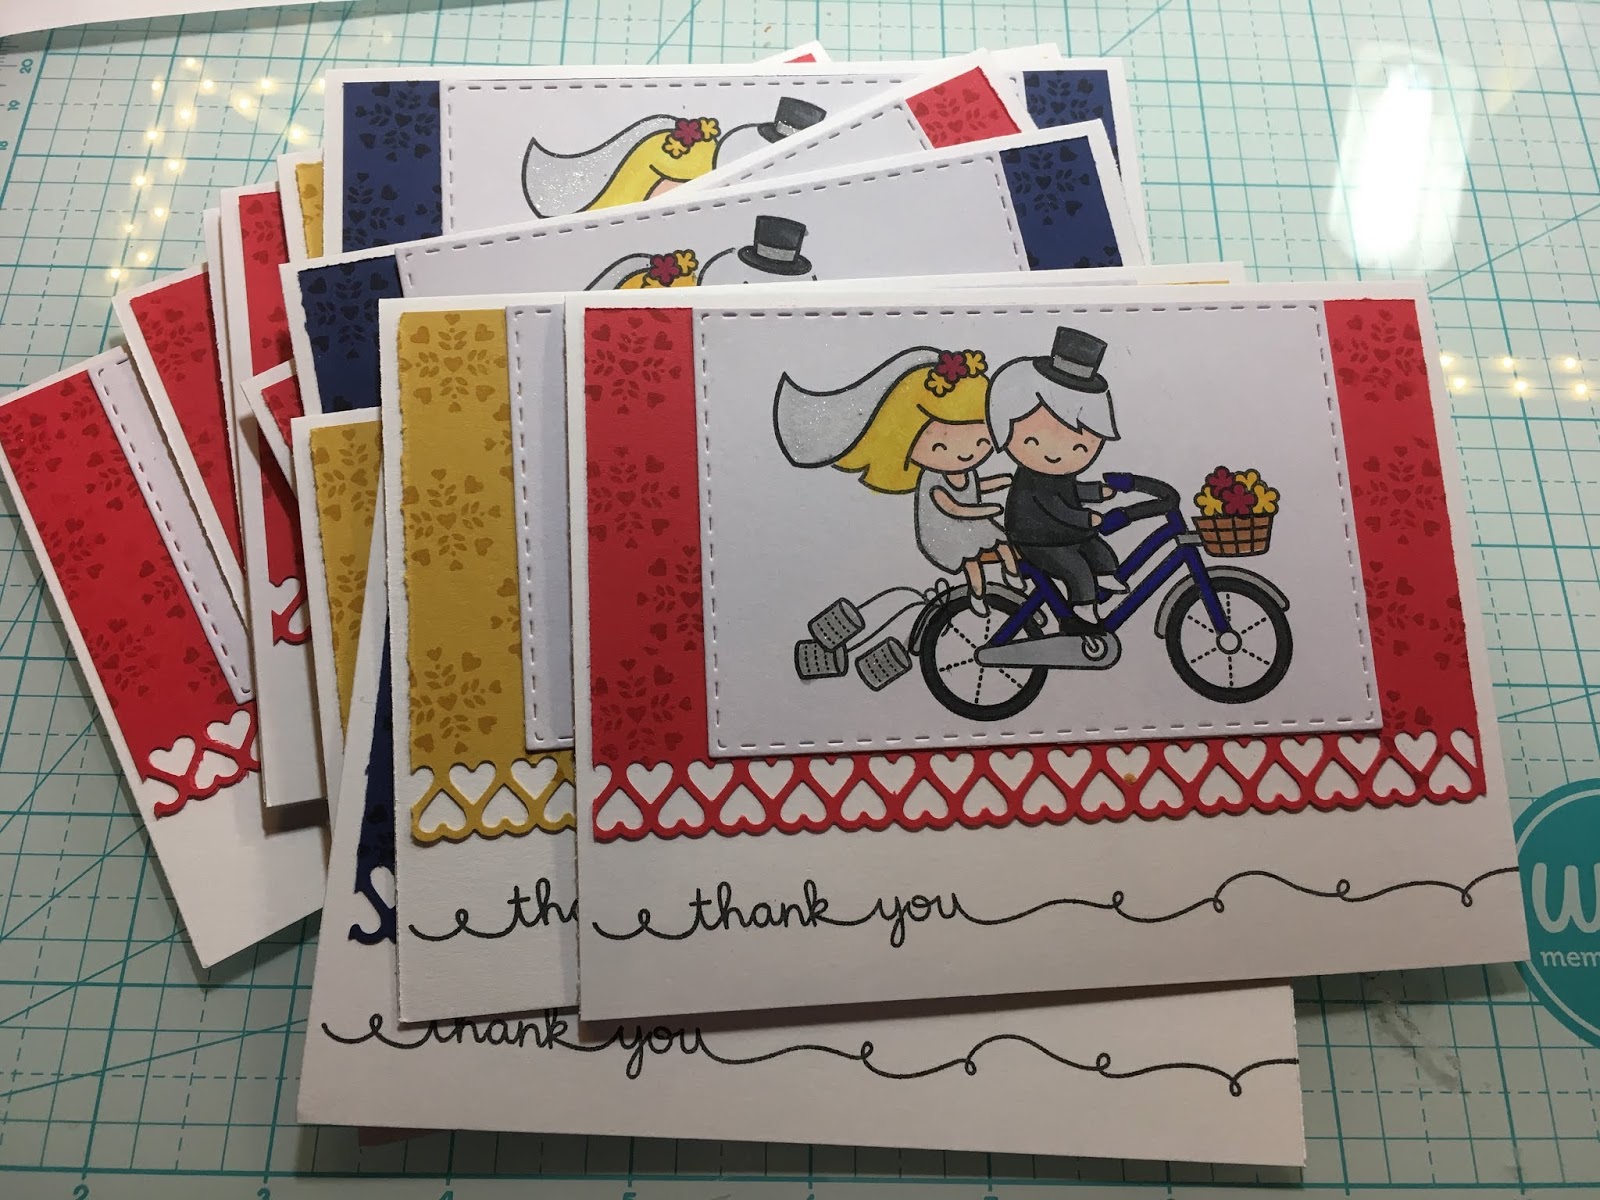
I haven't done much crafting in the last few months but here are a couple of cards I was asked to make for friends and family.


It was a lot of fun to make these cards, especially the Star Wars Lego card. For the base of the card, I used black card stock, white ink, and a silver glitter pen for the stars. Pinterest was a great help in finding free digital stamps of the lego's characters. They really pop against the black backdrop thanks to my spectrum noir markers.


The 50th birthday cards were a challenge. But I do love a challenge! So here it is-both my Mother and my Aunt asked for one to give to the same family member! I decided I would make 2 different styles using the info they gave me. My Aunt wanted a larger card than the standard A2 size, so I saw the "Z" card idea and just doubled it. My mother's card design I had used before and really liked it. What little I had left fit perfectly in the box. I used so many different products on these cards. Gotta love the cricut for cute die-cuts and Stampin' Up! for both stamps and thinlits.


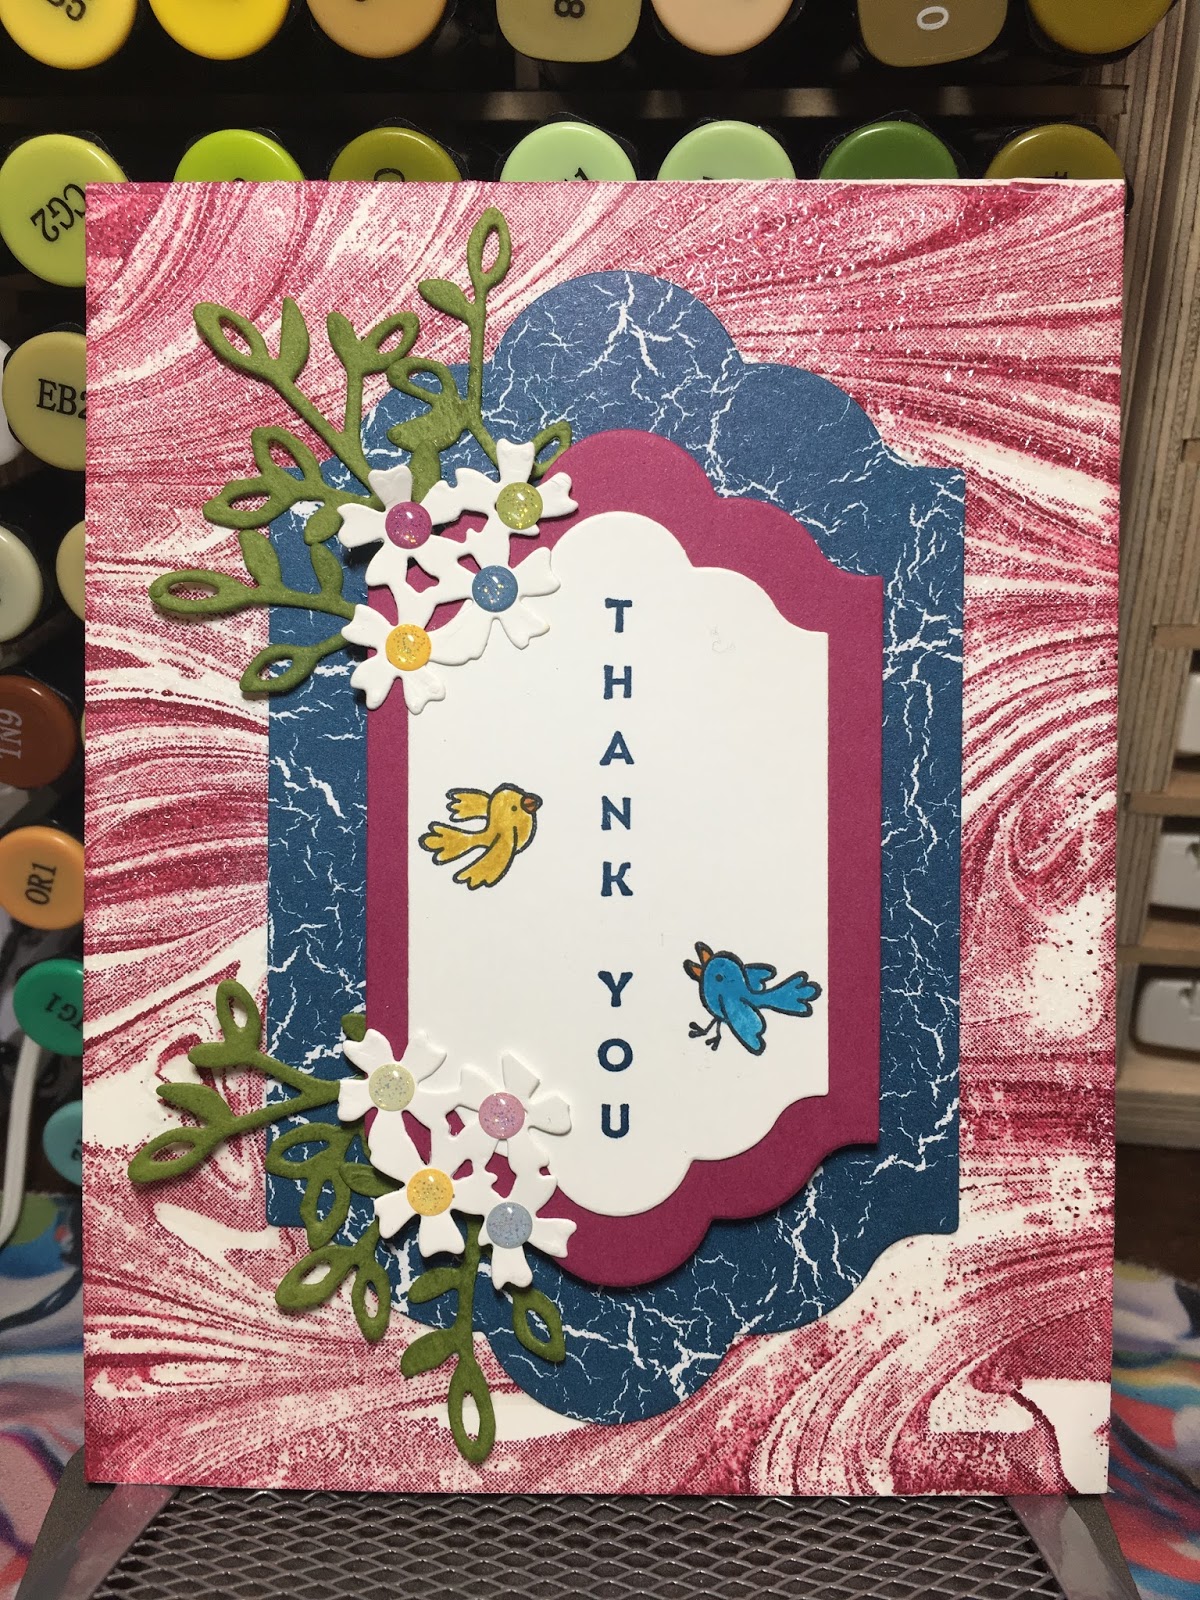
The flower birthday card was for my Mom. Again, I tried something new. I used Stampin' Up!'s Thoughtful Branches stamp set and coordinating die cuts. The background is rainbow Deco Foil that I ran through my bigshot with a heart embossing folder. Didn't quite come out as I had hoped but I made the most of it. Called it the distressed look! Whatever works.


The cat card I made with Stampin' Up!'s Pretty Kitty stamp set. I just thought this stamp set was cute and had to make a card. I embossed the base card with a zig zag folder and cut small openings to place the ribbon through to make the bow. The vibrant color combo really came together.


The butterfly was a sympathy card for a coworker of mine. I cut out the oval for the center then hole punched all the little circles around it. For the butterflies, I used Stampin' Up!'s Bold Butterfly Framelits dies. I cut them out of black card stock, used velum for the back, and then colored them in.


The Halloween card I threw together one night just for fun. I put it on a few Facebook group sites I'm in and it was a hit. Now what do I do with it??


I think I made up for not posting for a while here. This blog went on and on. I hope to be able to post more now that there is peace and quiet for a few hours a day. My other goal is to try and make a video. I'm nervous, but who isn't trying something new?


I'll keep you posted.


If you would like to see more of my cards, please click the "Follow Me on Facebook" button to the right and it will take you to my Facebook page.


Have a great day and happy crafting!!